5303918330 Frigidaire Refrigerator Heat Exchanger Kit OS1
$186.26
- Description
- Installation Guide
- Additional information
- Replaceable Parts
- Used in Models
Description
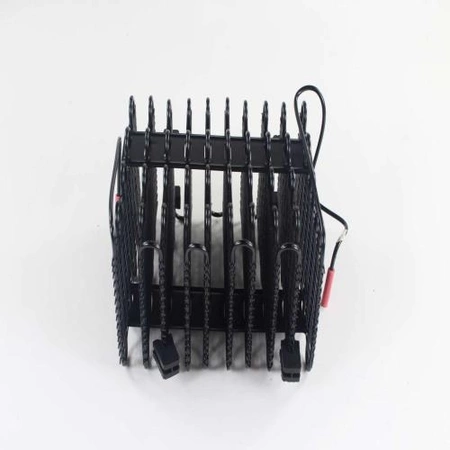
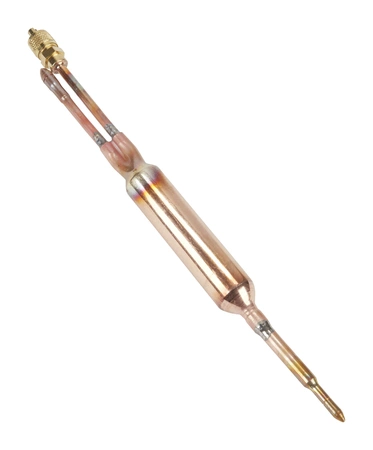
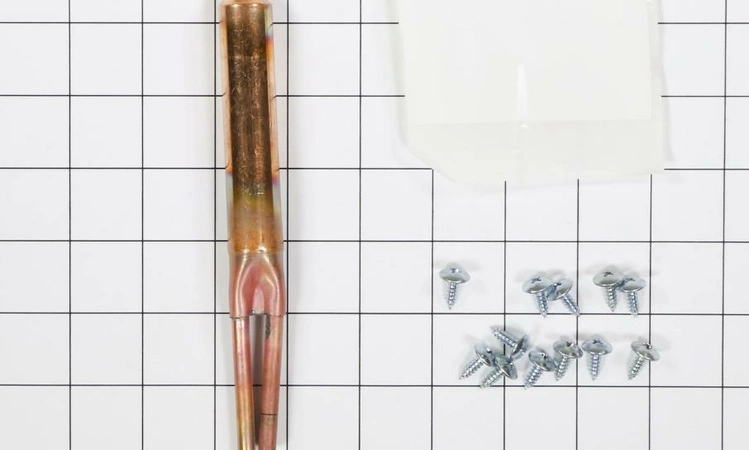
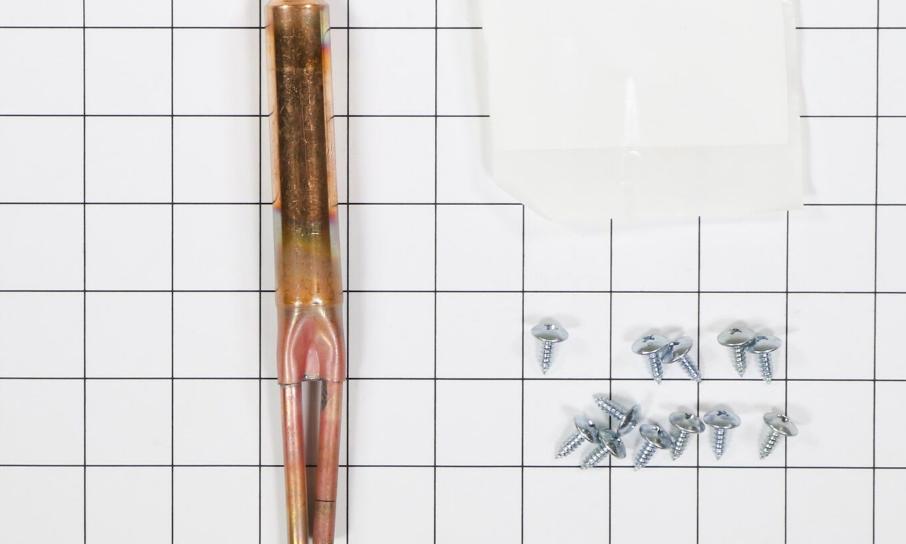
Maintain the efficiency of your refrigerator with this reliable heat exchanger kit designed specifically for various brands, including Crosley, Electrolux, Frigidaire, Gibson, Kelvinator, Kenmore, Tappan, and Westinghouse. Engineered as a component of the compressor and sealed system, this part ensures optimal cooling performance and temperature regulation within your appliance.
This essential replacement is crafted by Electrolux, a trusted name in home appliances, guaranteeing durability and compatibility with a range of refrigerator models. Whether you are performing maintenance or undertaking repairs, this heat exchanger kit is crucial for keeping your refrigerator running smoothly and effectively. Ensure your appliance operates at its best with this high-quality part. Easy to install, it provides peace of mind and enhances the longevity of your refrigerator.
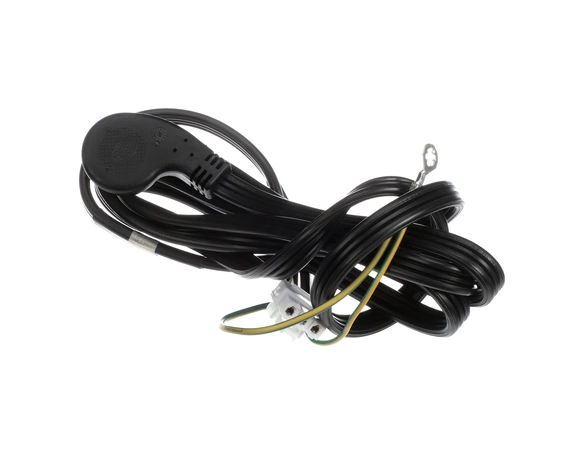
Step 1: Turn off the power to the Frigidaire range. To do this, locate and disconnect the electrical plug.
Step 2: Lift the main top off of the range. There will be four screws at the sides of the unit that need to be unscrewed before you can lift the main top up and off.
Step 3: Once the screws are removed, lift the top of the range up and away from the oven. Make sure you have a safe place to set it and keep it out of the way.
Step 4: Place the new main top oven (the 318223640 MAIN TOP OS2) onto the range. Make sure that the tabs line up and the screws holes match.
Step 5: Secure the new main top oven to the range by tightening the four screws that were previously removed.
Step 6: Once the screws are tightened, turn the power back on to the Frigidaire range.
Step 7: Test the range to make sure everything is working properly.
Please keep in mind, these instructions are for general guidance and should always be used in conjunction with the manufacturer's manual, if available.
Additional information
| Weight | 0.000000 kg |
|---|---|
| Part Type | Compressor & Sealed System |
- WCI 5303918210 (wci-5303918210)