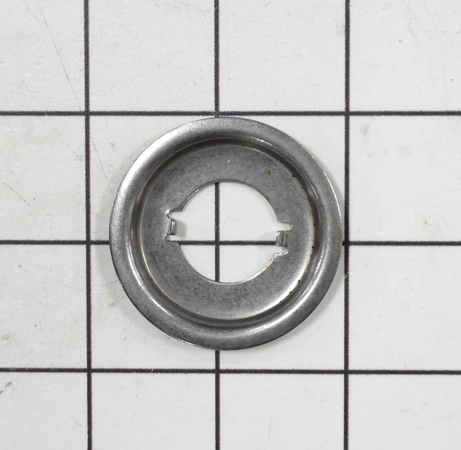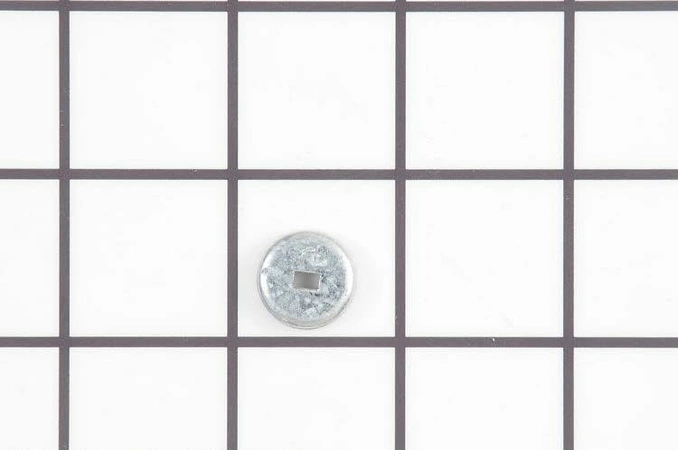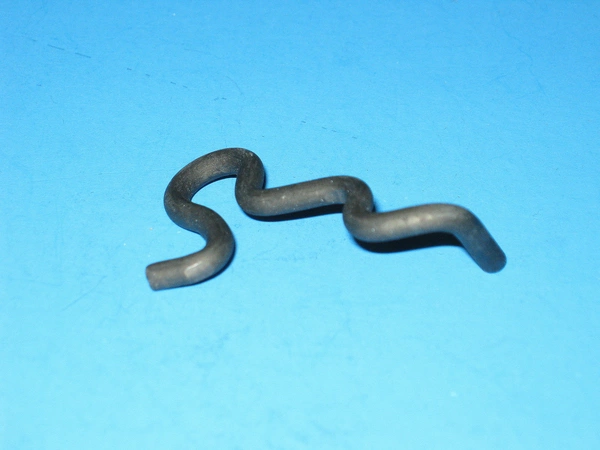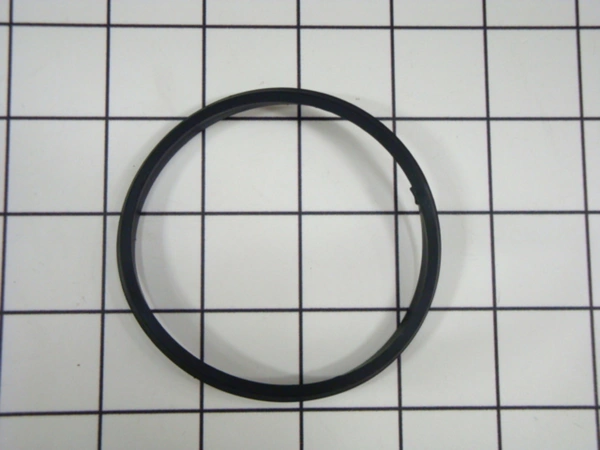
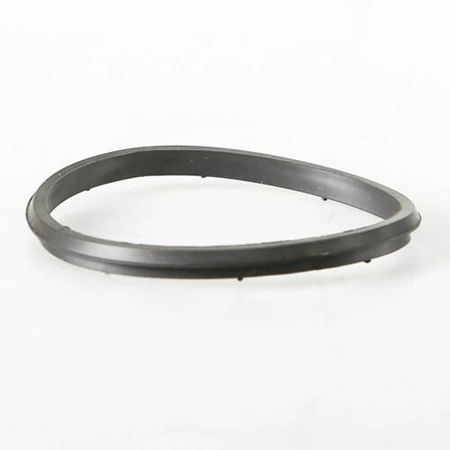
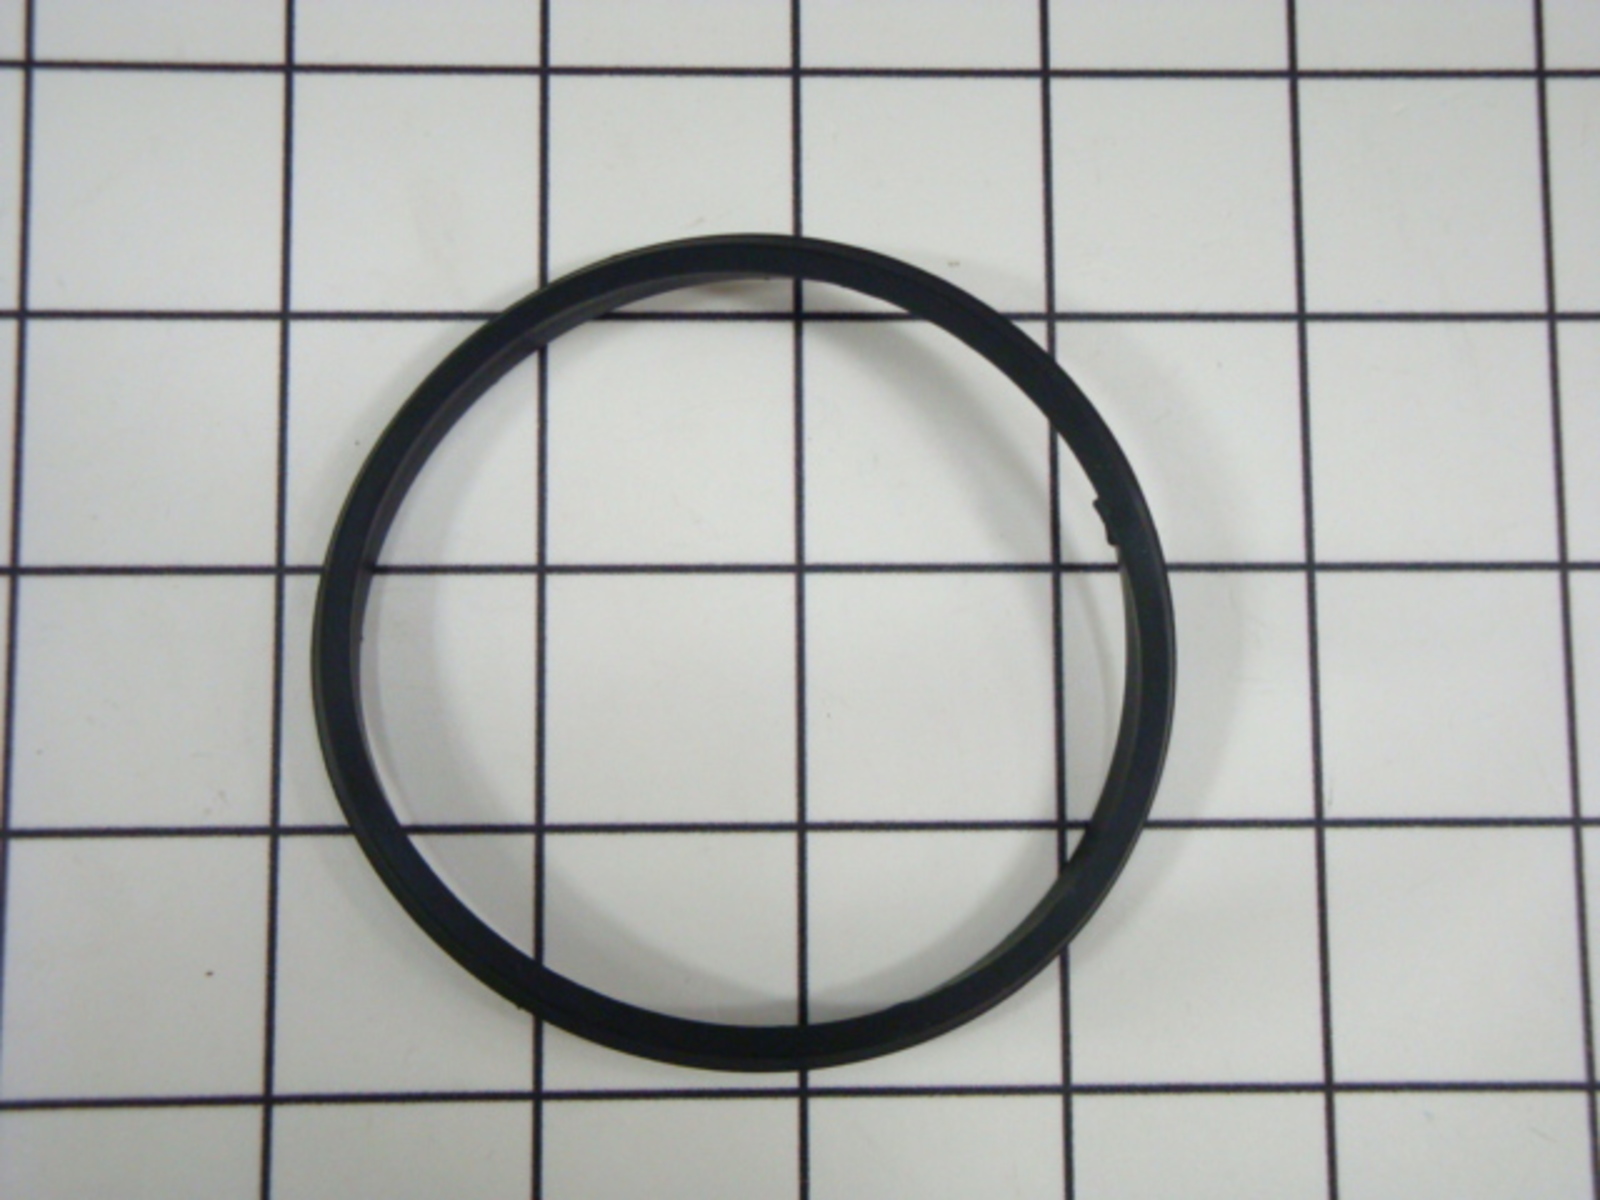
WP358912 Whirlpool Gasket
$3.70
Seal, Agitator Cap
- Description
- Installation Guide
- Additional information
- Replaceable Parts
- Used in Models
Description
Whirlpool WP358912 Gasket We’re your #1 source for genuine OEM appliance parts. Contact us for further questions as well as any other appliance parts needs!
DIY Guide to Replacing the Whirlpool WP358912 Seal
Replacing a seal on your Whirlpool refrigerator can be a daunting task, but with this DIY guide, you'll be able to replace the Whirlpool WP358912 seal quickly and easily. Here's what you'll need:
Tools:
Philips head screwdriver
Flat-head screwdriver
Putty knife or old credit card
Materials:
New Whirlpool WP358912 seal
Instructions:
1. Open the freezer door and remove any ice trays and shelving to get access to the back panel.
2. Unscrew the screws along the back panel using the Philips head screwdriver. Remove the panel to reveal the evaporator coils.
3. Use the flat-head screwdriver to loosen the screws that hold the sealed area in place. Unscrew the seal from the coils and discard it.
4. Take the new Whirlpool WP358912 seal and place it around the evaporator coils. Make sure it is securely fastened with the screws.
5. Use the putty knife or old credit card to smooth out the edges of the seal so it fits snugly against the coils.
6. Replace the back panel and secure it in place with the screws.
7. Close the freezer door and make sure the seal is securely in place.
There you have it – your Whirlpool refrigerator is now equipped with a brand new Whirlpool WP358912 seal!
Please keep in mind, these instructions are for general guidance and should always be used in conjunction with the manufacturer's manual, if available.
Additional information
| Weight | 0.007200 kg |
|---|---|
| Dimensions | 1.25 × 1.37 × 0.37 cm |
| Part Type | Gasket & Seal |
| Dimension |
- WPL 357559 (wpl-357559)
- WPL 358912 (wpl-358912)